Skip to content
CodesErreur.comSWISS PRO ENGINE
Core Diagnostics
DiagnosticsBrandsOEM ManualsSpecialistsAI EngineerPRO
Workshop Tools
Diagnostic ToolsNEW
Hardware interfaces & test probes
Find Rating Plate
Locate exact E-Nr, PNC & serial codes
Parts Locator
Global OEM spare parts suppliers
Community & Career
Academy & Courses
Masterclasses by senior technicians
Certification ExamsPRO
Verify your B2B technical credentials
Elite Forum
Peer-to-peer field troubleshooting
Tech Jobs
B2B recruitment & field opportunities
Leaderboard
Global ranking of verified specialists
Certified Appliance Engineering EcosystemApply for Certification →
Language Selector
ENFRDEITESPT
ENEnglishFRFrançaisDEDeutschITItalianoESEspañolPTPortuguês
Account & Access
Upgrade PRO
Back to Search
OEM VERIFIED BENCH
OFFICIAL FAULT CODEE9000
Gaggenau
Gaggenau // OFFICIAL DIAGNOSTIC BENCH

Gaggenau Dishwasher E9000

DishwasherElectronic Control Board (PCB) & Bus Communications
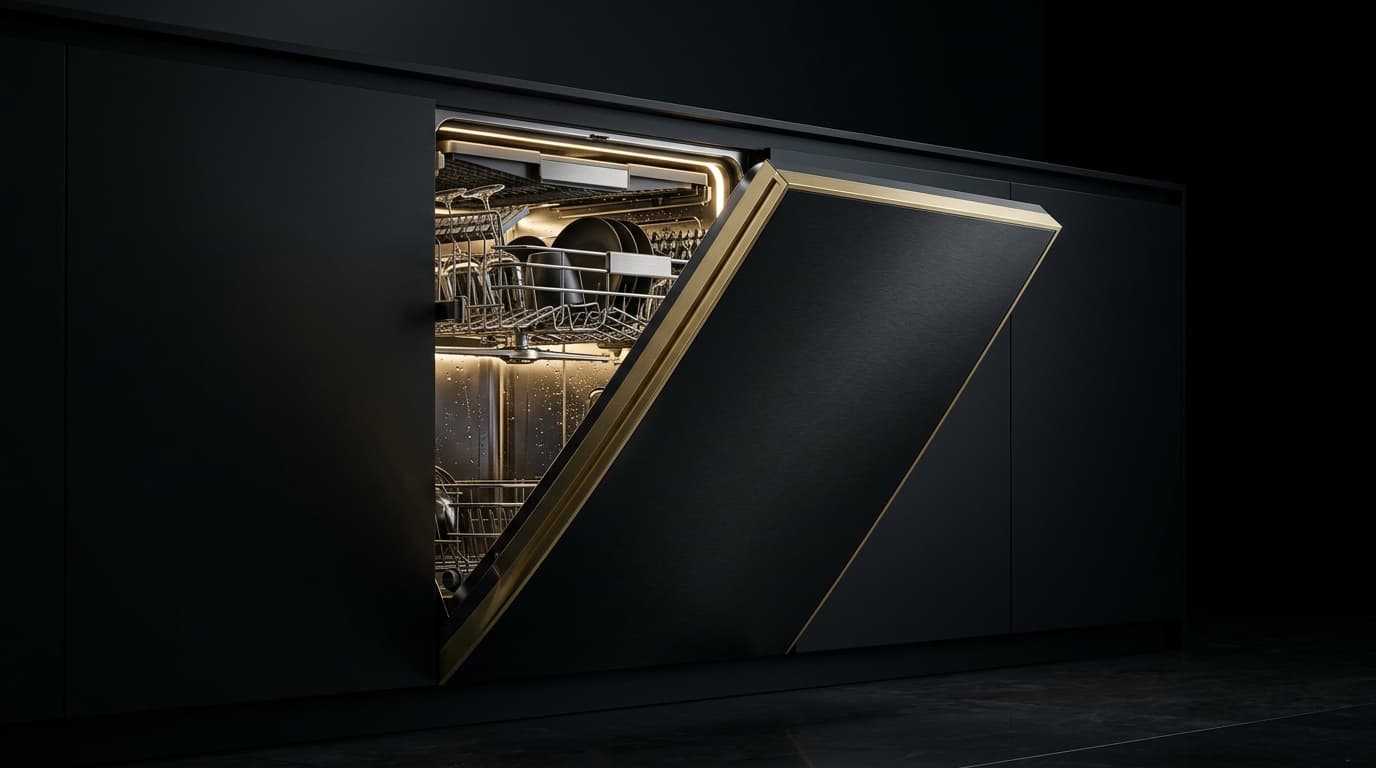
Premium built-in dishwasher with open illuminated stainless steel interior and precision spray arms
Dishwasher

Symptom / Description

FAULT

Internal electronic error

TELEMETRY // LIVESIG: FAULT_DETECTED

Root Cause

ROOT CAUSE

Voltage or configuration error on the control board.

CIRCUIT // SUBSYSTEMLOGIC: ROOT_ISOLATED

Repair Instructions

UNLOCKED
1Disconnect from power for 30 minutes to perform a hard reset. If the error code reappears, a service technician is required.
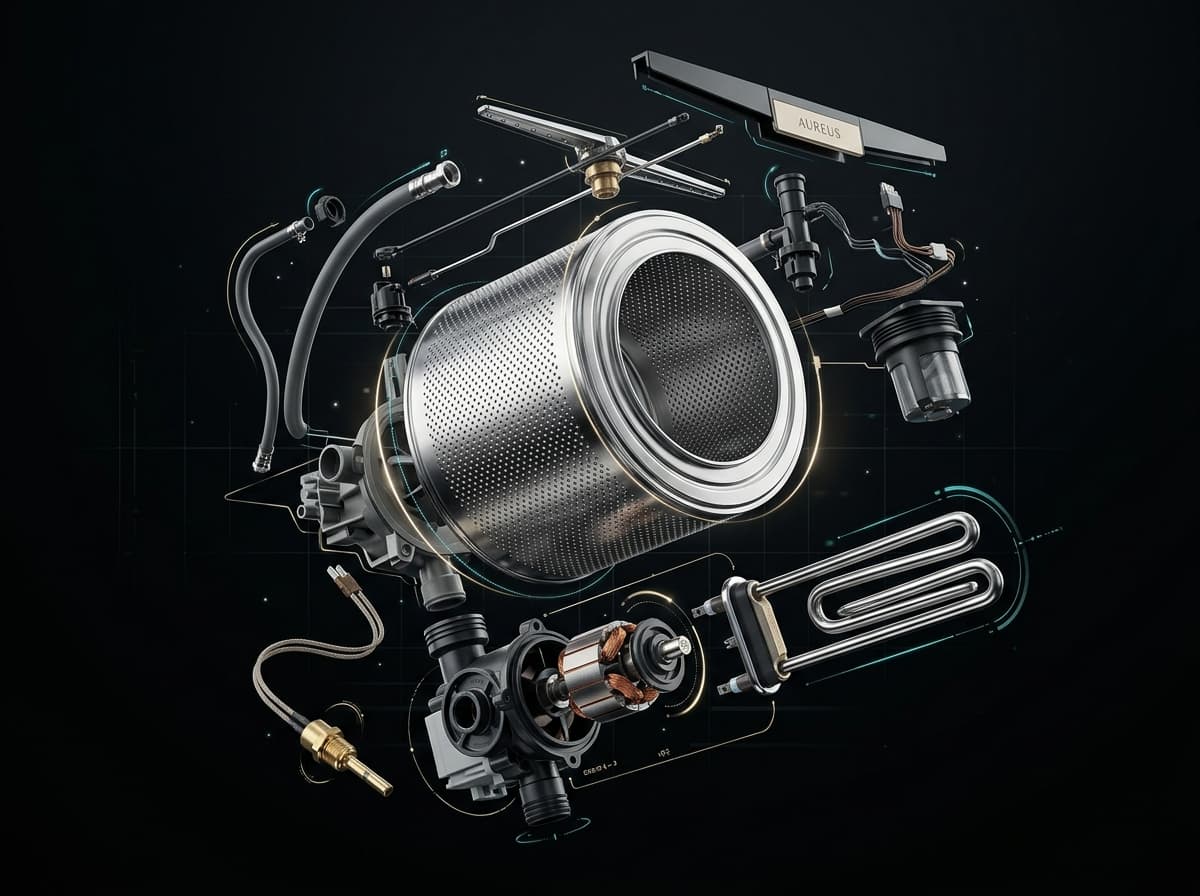
AI diagnostic workshop engine analyzing appliance circuit schematics and error telemetry in real time
AI WORKSHOP PROTOCOL ENGINE
Direct extraction from OEM factory manuals & wiring schematics

Field Actions

DISPATCH
Need Help? Call a Certified TechnicianWorldwide Gaggenau Parts Finder
Electrical & Safety Protocol

Always disconnect appliance from 230V/400V mains before opening panels. Use CAT III multimeter for circuit testing.
SWISS ATELIER TECHNICAL BLUEPRINT // 2026 SCHEMATIC STANDARD

Main Control PCB, Refrigeration & Sensor Bus Loop

230V AC Mains Filter, Low-Voltage SMPS DC Rails & MCU I2C/UART Bus

CALIBRATED TEST POINTS (TP1 / TP2)
ACTIVE MULTIMETER BENCH
MAIN PCB CONTROLLER32-BIT MCUFIRMWARE v26.4SOLID-STATE RELAYTRIAC TY1 // 16A 600V230V AC MAINSLINE FILTER L-NJ1J2TP1TP2PRECISION BENCH METERAUTO-RANGE ΩCAT III12.05 V DCVΩCOMMAIN CONTROL BOARDSMPS TRANSFORMERPRIMARY 230V / SECONDARY DC+12V DC+5V DCI2C / UART SENSOR BUS
Target Component
PCB Power Supply Rails & DC Bus Filter Capacitors
Nominal Resistance / Test Range
Low-voltage rails: +5.0V DC (Logic), +12.0V DC (Relays), +3.3V DC (MCU). Relay coils: 200Ω–450Ω.
Test Harness Pins
Across SMPS output electrolytic capacitors on low-voltage side (test bench verification)
Diagnostic Verification Rule
Verify clean DC rails without ripple. Defective SMPS capacitors or burned MCU comm bus triggers system lock.
CALIBRATED BENCH PROTOCOL // CAT III 600V

Workshop Verification & Safety Checklist

WORKSHOP VERIFICATION PROTOCOLElectronic Control Board (PCB) & Bus CommunicationsDishwasher
2. Multimeter & Electrical Bench Tests (Ω)
MODE: OHMMETER (Ω)AUTO-RANGE
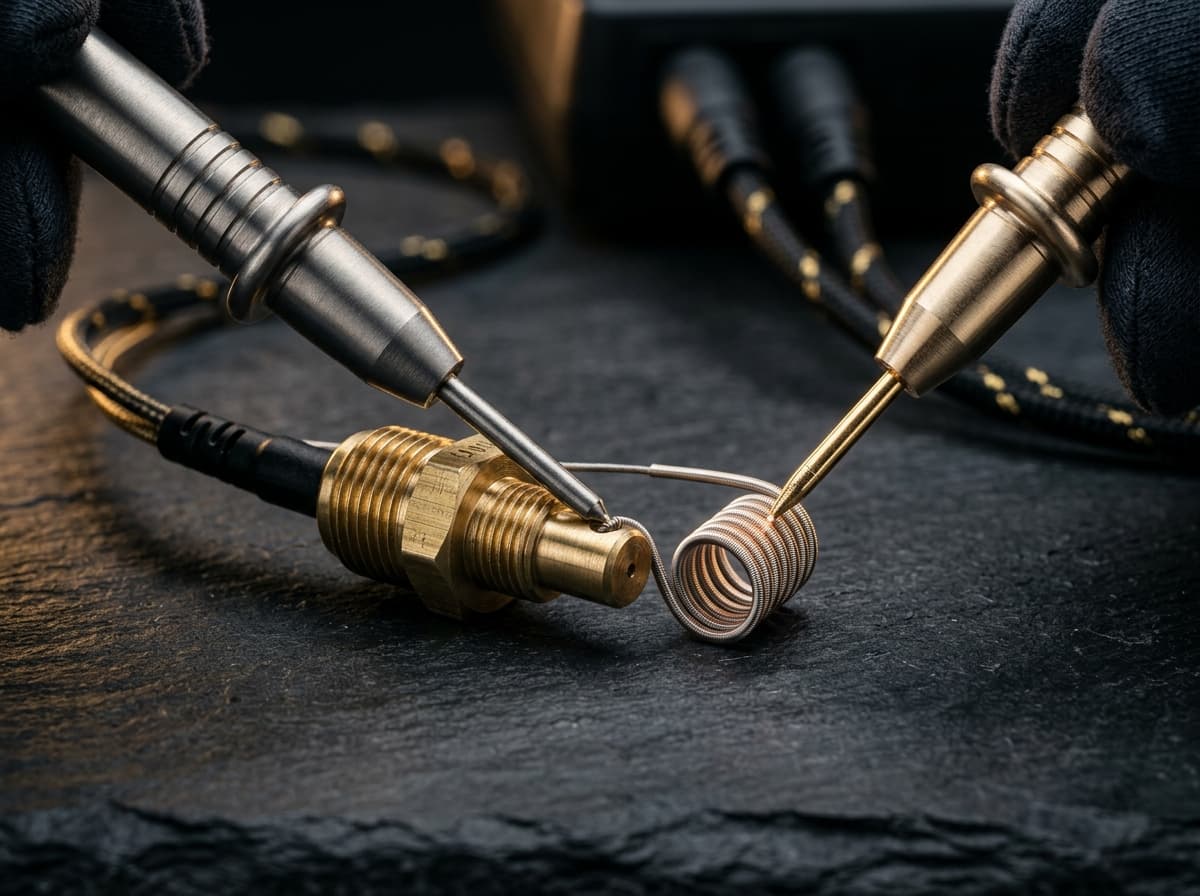
Precision digital multimeter probes measuring electrical resistance in Ohms on an appliance control board
CALIBRATED METROLOGY RESISTANCE BENCH (CAT III)
Nominal Resistance (Ω)
Low-voltage rails: +5.0V DC (Logic), +12.0V DC (Relays), +3.3V DC (MCU). Relay coils: 200Ω–450Ω.NOMINAL
0 Ω (SHORT)CALIBRATED BAND∞ OL (OPEN)
▲ NOMINAL OPERATING WINDOW
Target Component:PCB Power Supply Rails & DC Bus Filter Capacitors
Test Pins & Connections
PROBE (+)
PROBE (-)
Across SMPS output electrolytic capacitors on low-voltage side (test bench verification)
Tolerance & Diagnostic CriteriaDC rail ripple must remain <50mV. Direct continuity (0Ω) across DC bus rails indicates dead short.
1. Pre-Intervention Electrical Safety Protocols
  • !High-Voltage Safety Protocol: Disconnect 230V power before unplugging edge connectors or removing PCB.
  • !High Voltage DC Warning: Wait at least 5 minutes for SMPS and inverter filter capacitors (up to 380V DC) to discharge safely.
  • !Electrostatic Discharge (ESD): Ground yourself to the metal chassis or wear an antistatic wrist strap before touching circuit tracks.
3. Preliminary Mechanical & Visual Checks
  • Inspect PCB tracks with a magnifying glass for blown triacs, darkened copper tracks, or cold solder joints on power relays.
  • Check electrolytic capacitors for bulging tops or leaked electrolyte residue around pins.
  • Verify edge connector locking clips are intact and pins are free of vibration fretting corrosion.
Perform these diagnostic steps before triggering AI Deep Search or replacing boards.Certified Workshop Routine

Frequently Asked Questions: Gaggenau E9000

FAQ TREE
What does error code E9000 mean on a Gaggenau appliance?

Gaggenau error code E9000 indicates: Internal electronic error.

What is the root cause of Gaggenau error code E9000?

The primary root cause for Gaggenau code E9000 is: Voltage or configuration error on the control board..

How do I fix or resolve Gaggenau error code E9000?

To resolve error code E9000: Disconnect from power for 30 minutes to perform a hard reset. If the error code reappears, a service technician is required.

Is it safe to clear Gaggenau error code E9000 by resetting power?

Resetting power (unplugging for 5–10 minutes) clears temporary memory errors. However, if Gaggenau code E9000 persists, the physical component causing Voltage or configuration error on the control board. must be inspected or replaced.

How do I test electrical resistance for Gaggenau code E9000 using a multimeter?

Set a digital multimeter to ohms (Ω). Disconnect power and test PCB Power Supply Rails & DC Bus Filter Capacitors across Across SMPS output electrolytic capacitors on low-voltage side (test bench verification). Expected nominal reading is Low-voltage rails: +5.0V DC (Logic), +12.0V DC (Relays), +3.3V DC (MCU). Relay coils: 200Ω–450Ω.. Tolerance: DC rail ripple must remain <50mV. Direct continuity (0Ω) across DC bus rails indicates dead short..

What safety protocol must be followed before servicing Gaggenau code E9000?

Standard electrical safety protocol: 1. Disconnect 230V mains power before opening panels. 2. Verify zero voltage at test points. 3. Allow hot water or heating elements to cool below 30°C before handling.

Community Verification

COMMUNITY

Did this solution resolve the issue?

SEMANTIC KNOWLEDGE GRAPH // GAGGENAU

Related Gaggenau Dishwasher Error Codes

Diagnostic Link Mesh14 OEM Cross-References

Cross-referenced diagnostic codes for technicians inspecting similar component subsystems.

E9001Dishwasher
Drainage System & Drain Pump
Gaggenau 200 Series / 400 Series Zeolith & push-to-open dishwasher: Low voltage DC power rai...
Inspect Protocol
E9210Dishwasher
Drainage System & Drain Pump
Gaggenau 200 Series / 400 Series Zeolith & push-to-open dishwasher: Water hardness ion-excha...
Inspect Protocol
E01Dishwasher
Drainage System & Drain Pump
Gaggenau 200 Series / 400 Series Zeolith & push-to-open dishwasher: Critical power module fa...
Inspect Protocol
E02Dishwasher
Drainage System & Drain Pump
Gaggenau 200 Series / 400 Series Zeolith & push-to-open dishwasher: Auxiliary heating relay ...
Inspect Protocol
E03Dishwasher
Drainage System & Drain Pump
Gaggenau 200 Series / 400 Series Zeolith & push-to-open dishwasher: Auxiliary heating relay ...
Inspect Protocol
E04Dishwasher
Drainage System & Drain Pump
Gaggenau 200 Series / 400 Series Zeolith & push-to-open dishwasher: Water switch diverter po...
Inspect Protocol
E05Dishwasher
Drainage System & Drain Pump
Gaggenau 200 Series / 400 Series Zeolith & push-to-open dishwasher: Water switch motor triac...
Inspect Protocol
E06Dishwasher
Drainage System & Drain Pump
Gaggenau 200 Series / 400 Series Zeolith & push-to-open dishwasher: Door Hall sensor latch a...
Inspect Protocol
E07Dishwasher
NTC Temperature Sensor & Thermistor
Gaggenau 200 Series / 400 Series Zeolith & push-to-open dishwasher: Zeolith drying fan / air...
Inspect Protocol
E08Dishwasher
Water Level Pressure Switch & Air Dome
Gaggenau 200 Series / 400 Series Zeolith & push-to-open dishwasher: Low water level in sump ...
Inspect Protocol
E09Dishwasher
Drainage System & Drain Pump
Gaggenau 200 Series / 400 Series Zeolith & push-to-open dishwasher: Heating circuit open fai...
Inspect Protocol
E10Dishwasher
Drainage System & Drain Pump
Gaggenau 200 Series / 400 Series Zeolith & push-to-open dishwasher: Scale build-up on heatin...
Inspect Protocol
E11Dishwasher
NTC Temperature Sensor & Thermistor
Gaggenau 200 Series / 400 Series Zeolith & push-to-open dishwasher: NTC temperature sensor f...
Inspect Protocol
E12Dishwasher
Drainage System & Drain Pump
Gaggenau 200 Series / 400 Series Zeolith & push-to-open dishwasher: Severe lime scale build-...
Inspect Protocol
CodesErreur.com

Premium appliance diagnostics & repair database.
Powered by AI to help certified technicians worldwide.

Trusted by professionals in CH & FR

Platform

Search DatabasePRO Diagnostic AIPRODiagnostic ToolsBrands

Workshop Tools

Brands (87)OEM ManualsFind Rating PlateParts Locator

For Technicians

SpecialistsTechnician ForumTech JobsPremium

Corporate

Terms of ServicePrivacy PolicyOfficial Swiss Repair Partner: Electroassistance
OPERATIONAL SAFETY SPECIFICATION

SAFETY DISCLAIMER

The technical information, diagnostic guides, error codes, and AI-generated suggestions provided on this website are intended exclusively for certified and qualified professionals. Appliance repair involves severe electrical hazards, high voltages, and mechanical risks that can result in fatal injury or severe property damage. If you are not a trained technician, do not attempt to repair any appliances. CodesErreur assumes no responsibility or liability for any damage, injury, or consequential losses resulting from the use of the information provided on this platform. You use all information entirely at your own risk.

© 2026 CodesErreur. All rights reserved.

Terms of Service Privacy Policy