
Skip to content
CodesErreur.comSWISS PRO ENGINE
Core Diagnostics
DiagnosticsBrandsOEM ManualsSpecialistsAI EngineerPRO
Workshop Tools
Diagnostic ToolsNEW
Hardware interfaces & test probes
Find Rating Plate
Locate exact E-Nr, PNC & serial codes
Parts Locator
Global OEM spare parts suppliers
Community & Career
Academy & Courses
Masterclasses by senior technicians
Certification ExamsPRO
Verify your B2B technical credentials
Elite Forum
Peer-to-peer field troubleshooting
Tech Jobs
B2B recruitment & field opportunities
Leaderboard
Global ranking of verified specialists
Certified Appliance Engineering EcosystemApply for Certification →
Language Selector
Account & Access
Upgrade PRO
Back to Search
OEM VERIFIED BENCH
OFFICIAL FAULT CODEE011
Bosch
Bosch // OFFICIAL DIAGNOSTIC BENCH

Bosch E011

OvenDoor Lock Mechanism & Safety Interlock
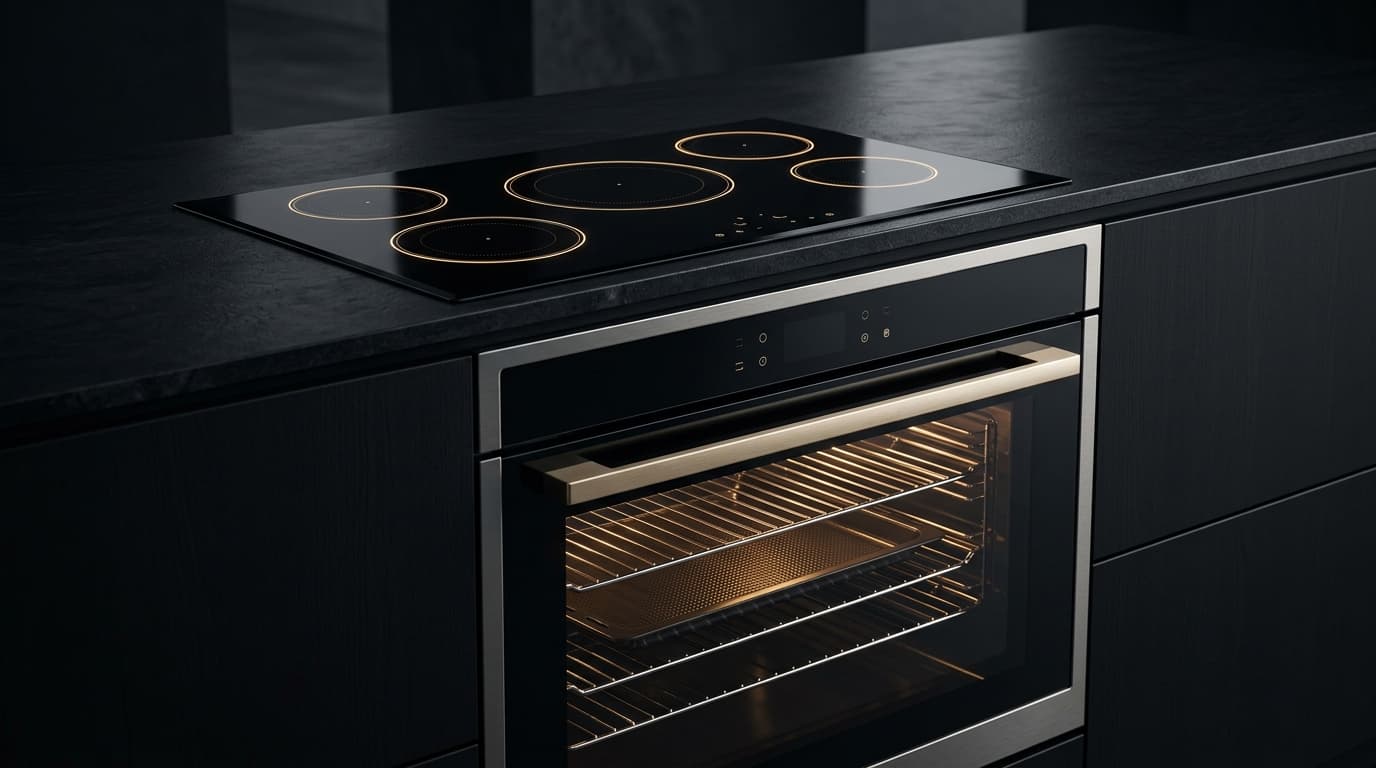
Integrated luxury convection oven and induction cooktop with illuminated touch controls
Oven
Other Brands Sharing Code E011:SiemensE011NeffE011GaggenauE011MerkerE011SharpE011

Symptom / Description

FAULT

Oven carriage with soft-close device does not close correctly, allowing hot, humid fumes to enter the switch compartment and damage electronic components.

TELEMETRY // LIVESIG: FAULT_DETECTED

Root Cause

ROOT CAUSE

The Z-rail of the oven carriage brushes the support plate, the support plate of the soft-close device is bent up (not attached with all hooks), pins slip out of the soft-close device/emergency pull-out holder or are bent, a burr causes the damper to stick, or the downward cranked lower end of the U-rail is bent up.

CIRCUIT // SUBSYSTEMLOGIC: ROOT_ISOLATED

Repair Instructions

UNLOCKED
1Install a new soft-close device (support plate with ramp). Ensure the support plate is at a 90° angle and engaged in the base plate with all three hooks. Check that the pin at the bottom of the oven carriage is at a 90° angle and not bent. Verify the Z-rail does not scrape, distances between the Z-rail and support plate are correct, the cranked rear part of the U-rail is not bent, and the oven carriage is situated correctly around the door seal.
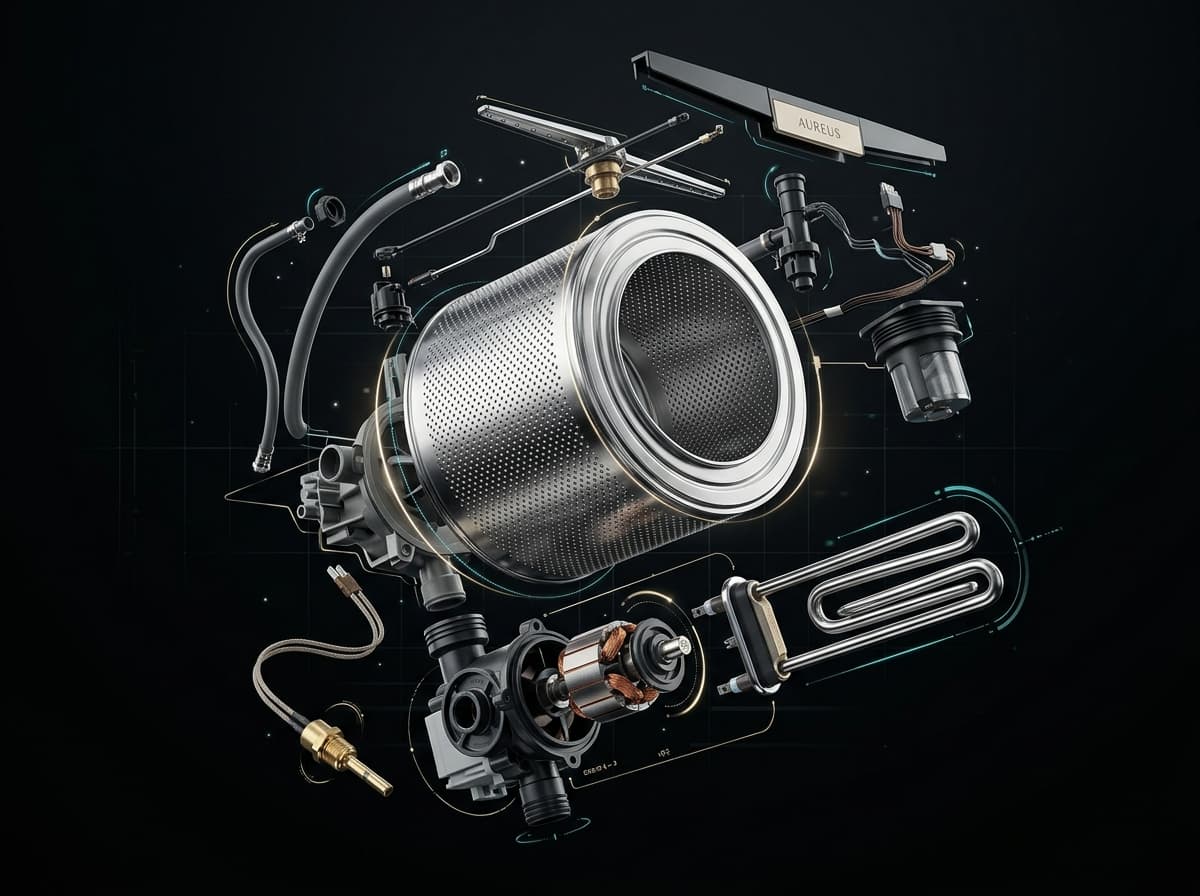
AI diagnostic workshop engine analyzing appliance circuit schematics and error telemetry in real time
AI WORKSHOP PROTOCOL ENGINE
Direct extraction from OEM factory manuals & wiring schematics

Field Actions

DISPATCH
Need Help? Call a Certified TechnicianWorldwide Bosch Parts Finder
Electrical & Safety Protocol

Always disconnect appliance from 230V/400V mains before opening panels. Use CAT III multimeter for circuit testing.
CALIBRATED BENCH PROTOCOL // CAT III 600V

Workshop Verification & Safety Checklist

WORKSHOP VERIFICATION PROTOCOLDoor Lock Mechanism & Safety InterlockOven / Microwave
2. Multimeter & Electrical Bench Tests (Ω)
MODE: OHMMETER (Ω)AUTO-RANGE
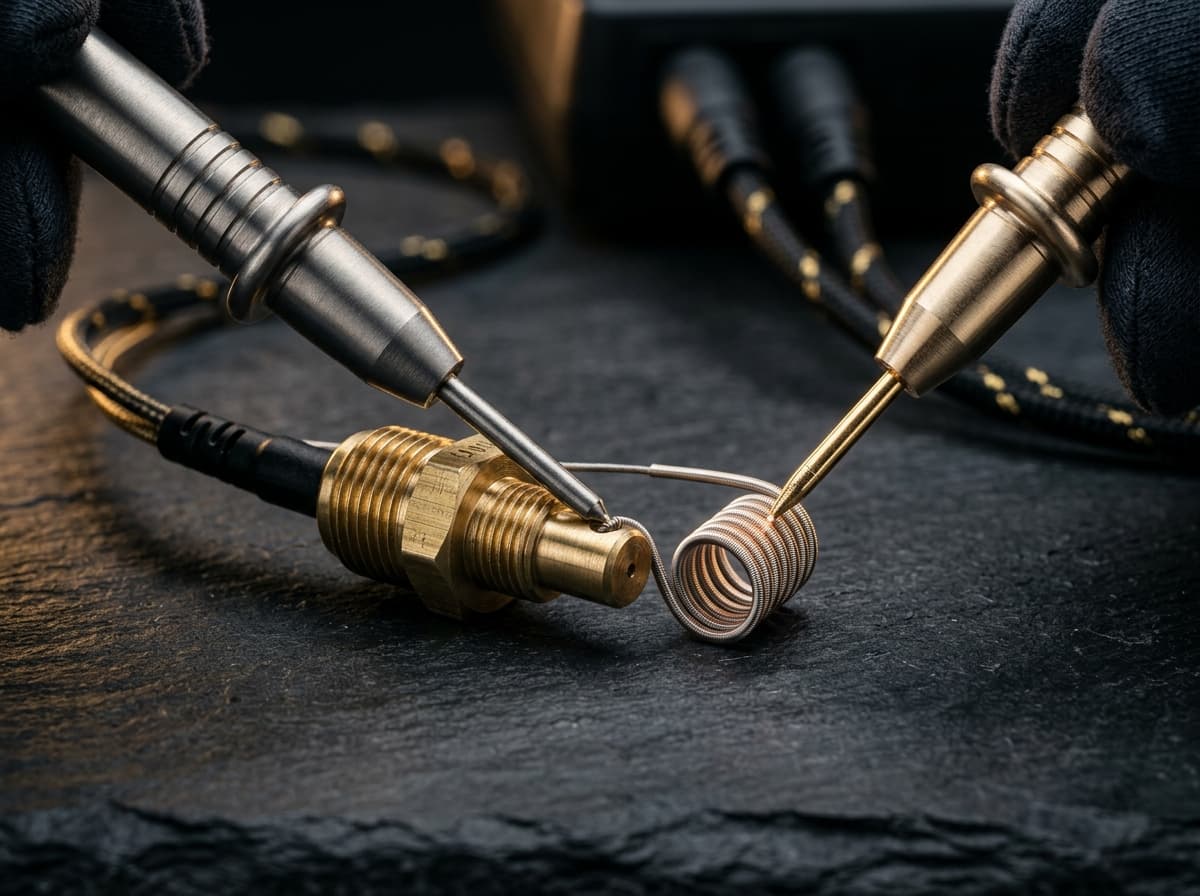
Precision digital multimeter probes measuring electrical resistance in Ohms on an appliance control board
CALIBRATED METROLOGY RESISTANCE BENCH (CAT III)
Nominal Resistance (Ω)
800Ω–1.5kΩ (PTC terminals L-N) / 60Ω–120Ω (Pulse Solenoid)NOMINAL
0 Ω (SHORT)CALIBRATED BAND∞ OL (OPEN)
▲ NOMINAL OPERATING WINDOW
Target Component:PTC Heater Pellet / Pulse Solenoid / Microswitch Contacts
Test Pins & Connections
PROBE (+)
PROBE (-)
Across PTC heater terminals on lock bezel; switch contact reads <0.2Ω when locked
Tolerance & Diagnostic Criteria±15%. Switch contacts must read open (OL) when unlocked and 0.0Ω–0.2Ω when fully latched.
1. Pre-Intervention Electrical Safety Protocols
  • !Electrical Safety Protocol: Disconnect 230V mains power before releasing door gasket clamp or lock retaining screws.
  • !Never short-circuit or bypass the safety door lock contacts: severe hazard of rotating drum exposure or fire.
  • !Keep fingers away from spring-loaded latch mechanisms during closure cycling.
3. Preliminary Mechanical & Visual Checks
  • Inspect door strike pin and handle latch hook for plastic deformation, breakage, or misalignment.
  • Check door hinge alignment: a sagging door prevents the latch tongue from engaging the safety microswitch.
  • Locate and verify emergency manual pull cord inside the lower drain pump hatch.
Perform these diagnostic steps before triggering AI Deep Search or replacing boards.Certified Workshop Routine

Frequently Asked Questions: Bosch E011

FAQ TREE
What does error code E011 mean on a Bosch appliance?

Bosch error code E011 indicates: Oven carriage with soft-close device does not close correctly, allowing hot, humid fumes to enter the switch compartment and damage electronic components..

What is the root cause of Bosch error code E011?

The primary root cause for Bosch code E011 is: The Z-rail of the oven carriage brushes the support plate, the support plate of the soft-close device is bent up (not attached with all hooks), pins slip out of the soft-close device/emergency pull-out holder or are bent, a burr causes the damper to stick, or the downward cranked lower end of the U-rail is bent up..

How do I fix or resolve Bosch error code E011?

To resolve error code E011: Install a new soft-close device (support plate with ramp). Ensure the support plate is at a 90° angle and engaged in the base plate with all three hooks. Check that the pin at the bottom of the oven carriage is at a 90° angle and not bent. Verify the Z-rail does not scrape, distances between the Z-rail and support plate are correct, the cranked rear part of the U-rail is not bent, and the oven carriage is situated correctly around the door seal.

Is it safe to clear Bosch error code E011 by resetting power?

Resetting power (unplugging for 5–10 minutes) clears temporary memory errors. However, if Bosch code E011 persists, the physical component causing The Z-rail of the oven carriage brushes the support plate, the support plate of the soft-close device is bent up (not attached with all hooks), pins slip out of the soft-close device/emergency pull-out holder or are bent, a burr causes the damper to stick, or the downward cranked lower end of the U-rail is bent up. must be inspected or replaced.

How do I test electrical resistance for Bosch code E011 using a multimeter?

Set a digital multimeter to ohms (Ω). Disconnect power and test PTC Heater Pellet / Pulse Solenoid / Microswitch Contacts across Across PTC heater terminals on lock bezel; switch contact reads <0.2Ω when locked. Expected nominal reading is 800Ω–1.5kΩ (PTC terminals L-N) / 60Ω–120Ω (Pulse Solenoid). Tolerance: ±15%. Switch contacts must read open (OL) when unlocked and 0.0Ω–0.2Ω when fully latched..

What safety protocol must be followed before servicing Bosch code E011?

Standard electrical safety protocol: 1. Disconnect 230V mains power before opening panels. 2. Verify zero voltage at test points. 3. Allow hot water or heating elements to cool below 30°C before handling.

Community Verification

COMMUNITY

Did this solution resolve the issue?

SEMANTIC KNOWLEDGE GRAPH // BOSCH

Related Bosch Oven / Microwave Error Codes

Diagnostic Link Mesh14 OEM Cross-References

Cross-referenced diagnostic codes for technicians inspecting similar component subsystems.

E101NTC Temperature Sensor & Thermistor
Wire break oven – temperature sensor (PT 500)
Inspect Protocol
E104NTC Temperature Sensor & Thermistor
Short circuit oven – temperature sensor (PT 500)
Inspect Protocol
E106Drive Motor, Inverter & Tachometer Sensor
Pyrolytic self-cleaning door locking mechanism failure; door cannot lock or unlock.
Inspect Protocol
E107Drive Motor, Inverter & Tachometer Sensor
The door does not open because it is locked. The display shows "Oven not unlocked".
Inspect Protocol
E115General System & Mechanical Integration
Appliance main switch relay turns off and the appliance switches to a functionally safe state.
Inspect Protocol
E136NTC Temperature Sensor & Thermistor
Inverter temperature (IGBT) is three times higher
Inspect Protocol
E137Heating Element, Thermostat & Safety Fuse
Microwave inverter IGBT power transistor over-temperature safety shutdown.
Inspect Protocol
E138Drive Motor, Inverter & Tachometer Sensor
Inverter “Connector Error” H 95
Inspect Protocol
E139Drive Motor, Inverter & Tachometer Sensor
Invert “Fault in Control IC” H 96-1
Inspect Protocol
E140Drive Motor, Inverter & Tachometer Sensor
Invert “Fault in Control IC” H 96-2
Inspect Protocol
E141Drive Motor, Inverter & Tachometer Sensor
Inverter “Control Error” H 97
Inspect Protocol
E142Drive Motor, Inverter & Tachometer Sensor
Bosch E142: Motor drive or inverter rotation anomaly in Oven / Microwave; drum/motor fails t...
Inspect Protocol
E143Drive Motor, Inverter & Tachometer Sensor
Pulses from the inverter H 99
Inspect Protocol
E144Electronic Control Board (PCB) & Bus Communications
Plausibility check (Double ovens --> Oven cavity 1)
Inspect Protocol
CodesErreur.com

Premium appliance diagnostics & repair database.
Powered by AI to help certified technicians worldwide.

Trusted by professionals in CH & FR

Platform

Search DatabasePRO Diagnostic AIPRODiagnostic ToolsBrands

Workshop Tools

Brands (87)OEM ManualsFind Rating PlateParts Locator

For Technicians

SpecialistsTechnician ForumTech JobsPremium

Corporate

Terms of ServicePrivacy PolicyOfficial Swiss Repair Partner: Electroassistance
OPERATIONAL SAFETY SPECIFICATION

SAFETY DISCLAIMER

The technical information, diagnostic guides, error codes, and AI-generated suggestions provided on this website are intended exclusively for certified and qualified professionals. Appliance repair involves severe electrical hazards, high voltages, and mechanical risks that can result in fatal injury or severe property damage. If you are not a trained technician, do not attempt to repair any appliances. CodesErreur assumes no responsibility or liability for any damage, injury, or consequential losses resulting from the use of the information provided on this platform. You use all information entirely at your own risk.

© 2026 CodesErreur. All rights reserved.

Official Swiss Repair Partner: Electroassistance Terms of Service Privacy Policy